
Table of Contents:
- Why You Should Not Throw Away Your Old PC
- What Exactly is This New OS?
- Check If Your Device is Compatible
- Things You Need Before We Start
- Step-by-Step Installation Guide
- Comparison: Windows vs. ChromeOS
- How to Boot and Install Permanently
- Setting Up Your New “Chromebook”
- Conclusion
- ChromeOS Flex

Why You Should Not Throw Away Your Old PC
If you are using an old laptop or PC that has become very slow, you are not alone. Many of us have machines that just sit in the corner because they take forever to open a web browser. Or maybe your system is no longer receiving updates, which makes it insecure.
With support for older versions of Windows ending, keeping these devices feels risky. But instead of throwing away your old computer, you can give it a new life. The solution is ChromeOS Flex.
This is a free operating system from Google. It is designed to be lightweight and fast. It is perfect for web browsing, online work, emails, YouTube, and cloud-based tasks. In this guide, I will show you exactly how to install ChromeOS Flex step by step.
READ MORE [Google NotebookLM Ultimate Guide: Stop Paying for 10 Different AI Tools and Master This Free Powerhouse ]
What Exactly is This New OS?
ChromeOS Flex is a cloud-first operating system. Unlike Windows, which gets heavy over time, this OS stays fast. It is built to run on hardware that might struggle with modern software.
It uses the same code base as the Chrome OS you see on new Chromebooks. The main difference is that you can install ChromeOS Flex on devices you already own. It updates automatically in the background, so you stay secure without the headache of long update times.
Check If Your Device is Compatible
Before we jump into the installation, we need to check a few things. Google has a list of “Certified models.” You can go to the official website and search for your laptop brand like Dell, HP, Lenovo, or Razer.
For example, I am using a Dell Optiplex 7060 mini PC, and it is officially supported until the year 2028.
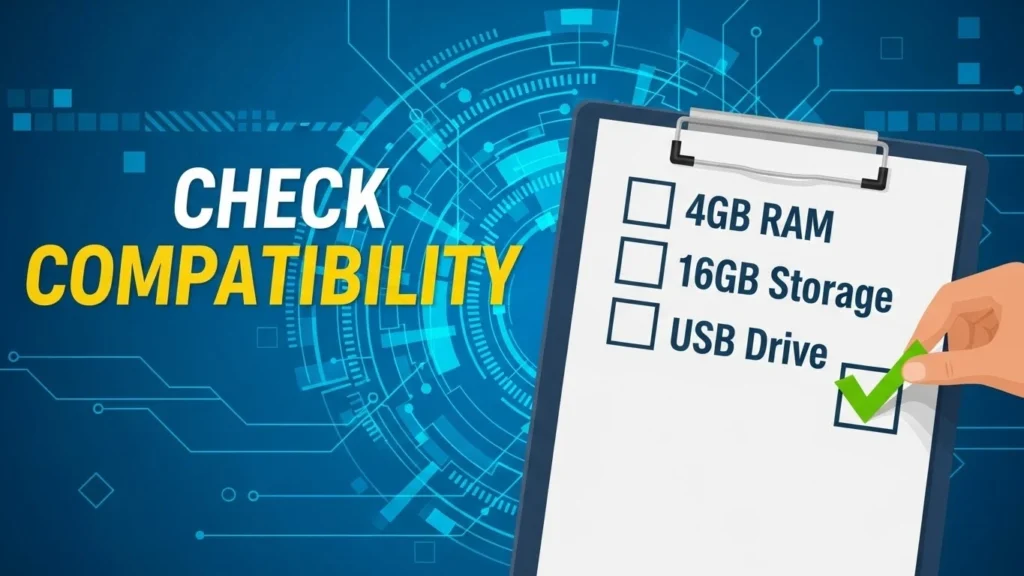
Minimum Requirements for ChromeOS Flex:
- Processor: Intel or AMD 64-bit processor.
- RAM: At least 4 GB of RAM.
- Storage: 16 GB of internal storage.
- Boot: Ability to boot from a USB drive.
Pro Tip:
Very old hardware made before 2010 might give poor performance. Also, some old Intel graphics cards like GMA 500 or 600 are not supported by ChromeOS Flex.
Even if your device is not on the certified list, don’t worry. ChromeOS Flex works on many unsupported devices too. Just keep in mind that some minor features like Bluetooth or touchscreens might not work perfectly on untested hardware.
Things You Need Before We Start
To get ChromeOS Flex running, you need a few simple tools.
- A USB Drive: It must be at least 8GB.
- A Working Computer: To create the installer.
- Chrome Browser: To run the recovery utility.
Warning:
Everything on your USB drive will be erased during this process. If you have photos or files on that stick, move them somewhere else now.
Step-by-Step Installation Guide
Let’s get down to business. Follow these steps carefully to create your ChromeOS Flex installer.
Step 1: Get the Chrome Recovery Utility
Open your Chrome browser and go to the Chrome Web Store. Search for “Chrome Recovery Utility.” Click “Add to Chrome” to install this extension.
Step 2: Launch the Utility
Click on the extension icon in the top left corner of your browser. Open the Recovery Utility.
Step 3: Prepare the USB
Click on the gear icon inside the utility and select “Erase recovery media.” Choose your USB drive and erase it. This ensures the USB is formatted correctly for ChromeOS Flex.
Step 4: Download the OS
- Click “Get Started.”
- Click “Select a model from a list.”
- For Manufacturer, select Google Chrome OS Flex.
- For Product, select ChromeOS Flex.
- Click Continue.
Step 5: Write to USB
Select your USB drive and click “Create new.” The tool will now download ChromeOS Flex and write it to your USB. This can take 10 to 30 minutes depending on your internet speed. [https://chromeos.google/]
Comparison: Windows vs. ChromeOS
Why should you switch? Here is a quick look at why ChromeOS Flex might be better for your old machine.
| Feature | Old Windows | ChromeOS Flex |
| Speed | Slows down over time | Stays fast |
| Updates | Annoying and long | Automatic background updates |
| Security | Needs antivirus | Built-in virus protection |
| Cost | Expensive licenses | Completely Free |
| Hardware | Needs strong specs | Runs on old specs |
How to Boot and Install Permanently
Once the utility says “Success,” your bootable USB is ready. Now comes the exciting part.
- Insert the USB: Plug the drive into the old laptop or PC where you want to install ChromeOS Flex.
- Restart and Boot: Restart the system. As soon as it turns on, press the Boot Menu key (usually F12, F9, or Esc depending on your brand).
- Select USB: From the menu, select your USB drive and press Enter.
Your system will now boot up. On the welcome screen, click “Get Started.”
You have two choices here:
- Try it first: You can run the OS directly from the USB to test it.
- Install it: This will wipe your hard drive and install ChromeOS Flex permanently.
If you choose to install, you will see a warning that all data on your internal drive will be erased. If you have backed up your important files, confirm the installation. The process usually takes just 5 to 10 minutes.
Setting Up Your New “Chromebook”
Once the installation is done, the system will ask you to remove the USB drive. Pull it out, and your computer will reboot automatically.
Instead of the old Windows logo, you will now see the sleek ChromeOS Flex logo.
Connecting to Internet:
Click “Get Started.” If your PC has a Wi-Fi card, connect to your network. In my case, I don’t have Wi-Fi on the mini PC, so I connected an Ethernet cable instead.
Who is using this device?
You can select “Personal Use,” “Work,” or “Child.” After you pick one, the system might download the latest updates. This takes about 5 to 10 minutes.
Sign In:
You can choose “Browse as Guest” if you just want to look around. But to get the full experience, sign in with your Google Account. This will sync your bookmarks, passwords, and drive files.
Create a PIN or password for your PC, accept the terms, and you are done. Your old computer is now a fresh, fast machine running ChromeOS Flex.
Conclusion
That is it! You have successfully installed ChromeOS Flex on your old PC or laptop.
You should notice immediately that the system feels faster. It looks cleaner and is much more secure for daily tasks. You can now browse the web, watch videos, and work on documents without the lag you had before.
Remember, ChromeOS Flex boots quickly and updates automatically. It is the best way to save money and reduce electronic waste. If you found this guide helpful in reviving your computer, share it with someone else who has a slow laptop lying around.
STEP 4: POST-CONTENT FAQS
1. Is ChromeOS Flex completely free?
Yes, ChromeOS Flex is a completely free operating system provided by Google to help modernize older devices.
2. Can I run Android apps on ChromeOS Flex?
Currently, ChromeOS Flex does not support the Google Play Store or Android apps. It is focused on web-based applications and the Chrome browser.
3. Will installing ChromeOS Flex delete my files?
Yes, if you choose the “Install” option, ChromeOS Flex will wipe your entire hard drive. You must back up your data before proceeding.
4. Does ChromeOS Flex work on any computer?
It works on most devices with an Intel or AMD 64-bit processor and 4GB of RAM. However, some features might not work on uncertified models.
5. Do I need a USB drive to install ChromeOS Flex?
Yes, you need a USB drive with at least 8GB of storage to create the bootable installer for ChromeOS Flex.