
introduction
I’m going to be real with you. I’ve been using Wonder share Filmora 15 for over a decade. It’s been my secret weapon, my go-to for quick, clean, and fast content. But for all those years, there’s been this… stigma, right?
It’s the ‘beginner’s editor.’ It’s what you use before you “graduate” to the “real” pro tools like Adobe Premiere Pro or DaVinci Resolve.
I’ve always had one foot out the door, thinking that day would come. But then, Wondershare dropped Filmora.
This isn’t just an update; it’s a statement. It’s their 15th-anniversary edition, and it feels like they’re tired of being in the “beginner” box. It feels like they’re trying to lock us in for good—in the best way possible.
So, the big question in this 15 Filmora review is: did they pull it off? Is Filmora the tool that finally makes it a true professional-grade editor? As someone who has used this software for ten years, I’m diving deep into the new Filmora 15 features.
What’s the Big Secret Behind the Filmora Update?
Here’s my theory, based on what I’ve seen in this update: the Filmora 15 developers have a simple new goal. They seem to have looked at every single reason a creator would leave their platform, and they’ve started plugging those holes, one by one.
The new Filmora features list isn’t just a random assortment; it’s a direct hit-list on its competitors. They are systematically pulling the best, most essential features from high-end software and integrating them into the easy-to-use Filmora 15 interface.
The focus is crystal clear: Professional Workflow. They don’t just want beginners; they want to keep the pros (and the creators who are becoming pros).
Let’s explore the new tools that Filmora 15 has brought to the table.
The ‘Pro’ Workflow: How Filmora 15 Is Catching Up
This is where my jaw dropped. For years, the argument against Filmora was its lack of professional workflow tools. Filmora 15 just changed that.
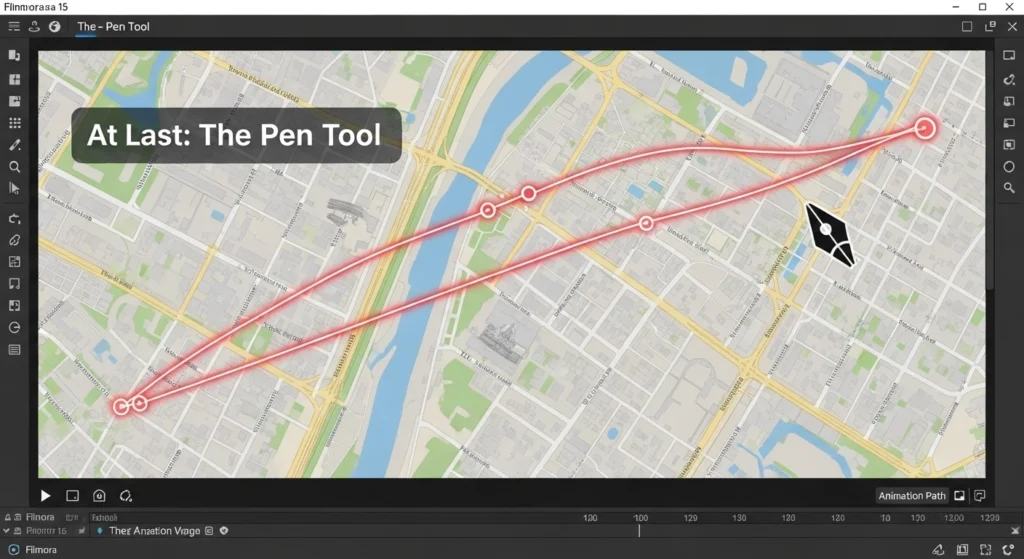
1. The Pen Tool is FINALLY in Filmora 15
Yes, you read that right. I have been waiting for this. Filmora 15 now has a native Pen Tool.
If you’re like me, your old workflow for custom shapes or masks was a pain. You’d have to:
- Stop your edit in Filmora.
- Open Photoshop or Illustrator.
- Create your shape or animated path.
- Export it as a PNG with a transparent background.
- Re-import it back into Filmora.
It was slow and clumsy. Now, I can draw custom shapes, create intricate outlines, and even design custom animation paths for my graphics and text, all inside Filmora 15. For anyone making documentary-style videos or detailed tutorials, this is a game-changer and one of the best new Filmora 15 features.
2. The Source Monitor: How Filmora 15 Cleans Up Your Workflow
This next one… this is the feature that separates the pros from the amateurs. Filmora 15 now has a dedicated Source Monitor.
What does that mean?
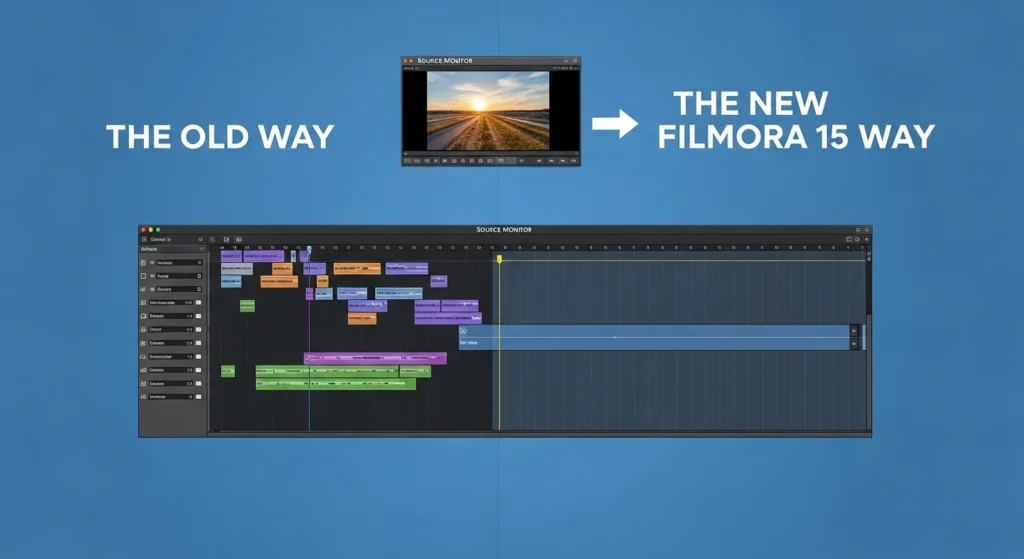
Think about how you edit now. You have a 10-minute 4K clip of B-roll, but you only need a 3-second shot from the middle. The “old” way was to drag that entire 10-minute file onto your timeline, find the 3-second part, slice it, and delete the rest. Your timeline becomes a cluttered graveyard of unwanted footage.
With the Source Monitor in Filmora 15, you just double-click your clip in the media library. It opens in a separate preview window. You can watch the clip there, set a “Mark In” point and a “Mark Out” point, and then drag only that perfect 3-second clip to your timeline.
It’s cleaner, faster, and it’s exactly how professional editors in Premiere Pro work. This is a massive step up for Filmora 15.
Read more # Power Smart App: The Ultimate 2025 Guide to Stop Over-Billing and Track Your Electricity Use in Pakistan
3. Multiple Timelines (Aka “Sequences”)
If you work on complex projects, you know the pain of a 20-minute timeline with hundreds of clips. It’s overwhelming. Filmora 15 now lets you use Multiple Timelines.
Think of it like having different tabs in your web browser.
Now, I can build my video in segments. I can have one timeline just for my complex, multi-layered intro. I can have another timeline for my main content. And I can have a third for my outro. Then, I can create a “Master” timeline and just drop those other timelines into it as single, clean clips.
If I need to change the intro music, I just open the “Intro” timeline, make the change, and it automatically updates in my Master project. This update makes Filmora 15 a beast for organization.
4. Nested Projects (The ‘Dynamic Link’ for Filmora)
This is the feature that proves Filmora 15 is serious. You can now take an entire Filmora 15 project file and use it as a clip inside another project.
Why is this huge? Imagine you’re making a long documentary. You can have one person on your team editing “Chapter 1” as its own project file. Another person can edit “Chapter 2.” You, as the main editor, can create a “Master Project” and just drag in “Chapter 1” and “Chapter 2.”
If your team member updates their “Chapter 1” project, it automatically updates in your Master project. This is the “Adobe Dynamic Link” workflow, and it’s a professional-level feature, period.
The ‘Magic’ Tools: Filmora 15 Gets Smarter with AI
Filmora has always loved its AI, but the new tools in Filmora 15 feel less like gimmicks and more like real-world problem-solvers.
1. AI Extend: The “Oh No!” Tool
We’ve all been there. You have the perfect B-roll shot, but it’s 2 seconds too short for your voice-over. You’re left with an ugly freeze-frame or an awkward slow-mo.
The new AI Extend in Filmora 15 is… pure magic.
I was skeptical. But you just grab the edge of your clip on the timeline and stretch it. The Filmora 15 AI analyzes the video and generates new frames to seamlessly extend the clip. I tested this new Filmora 15 tool on a drone shot, and it worked flawlessly. It’s an incredible fix for a common, frustrating problem.
2. Animated Charts & Graphs (No More PowerPoint!)
If you’ve ever had to make a boring presentation or a data-heavy video, Filmora 15 is here to save you. There’s a new, fully customizable tool for creating animated charts and graphs.
Pie charts, bar graphs, data visualizations—it’s all here. It’s fully customizable and looks incredibly professional. This Filmora 15 feature is a godsend for anyone in education, business, or documentary filmmaking.
3. Upgraded Smart Cutouts
The old “Smart Cutout” (which removes video backgrounds) was… okay. The new one in Filmora 15 is actually good. It’s faster, more accurate, and a genuinely usable tool for getting that “green screen” effect without the green screen.
So, Who is Filmora 15 Really For?
This is the most important part of this Filmora 15 review. With all these new features, has it become too complex?
- For Beginners: Absolutely not. Filmora 15 is still the undisputed king of “easy.” The core workflow is the same. You can still ignore all these pro features and just drag, drop, and export. But now, you have a clear path to grow.
- For YouTubers / Content Creators: This Filmora 15 update is a no-brainer. The Pen Tool for callouts, the Source Monitor for B-roll, and AI Extend for pacing are all tools you will use every single day.
- For Aspiring Professionals: This is the big one. Before, I would have said, “Start on Filmora, but plan to move.” Now? You can build a serious, efficient video editing business using only Filmora 15. It’s that capable.
My Final Verdict After 10 Years
So, after 10 years, am I finally going “all in” on Filmora?
Yes. Filmora 15 is the first version that doesn’t feel like a compromise.
It’s no longer just “easy.” It’s easy and powerful. They have successfully bridged the gap. By adding the Source Monitor, Pen Tool, and Multiple Timelines, they’ve silenced the biggest complaints from pro users.
While Premiere Pro and DaVinci still have their place for high-end Hollywood-level work, Filmora 15 has planted its flag. It is the perfect editor for the modern content creator, the small business owner, and the aspiring filmmaker.
My final verdict on this Filmora 15 review is simple: They did it. This update isn’t just a new number; it’s a whole new game.